Editing Account Information

Qoom's new database update comes with full tutorials and code snippets that open up way more awesome possibilities for coding projects! Perhaps an "editing information" section? That's exactly what we did with our project, using Qoom's user authentication database system.
The HTML
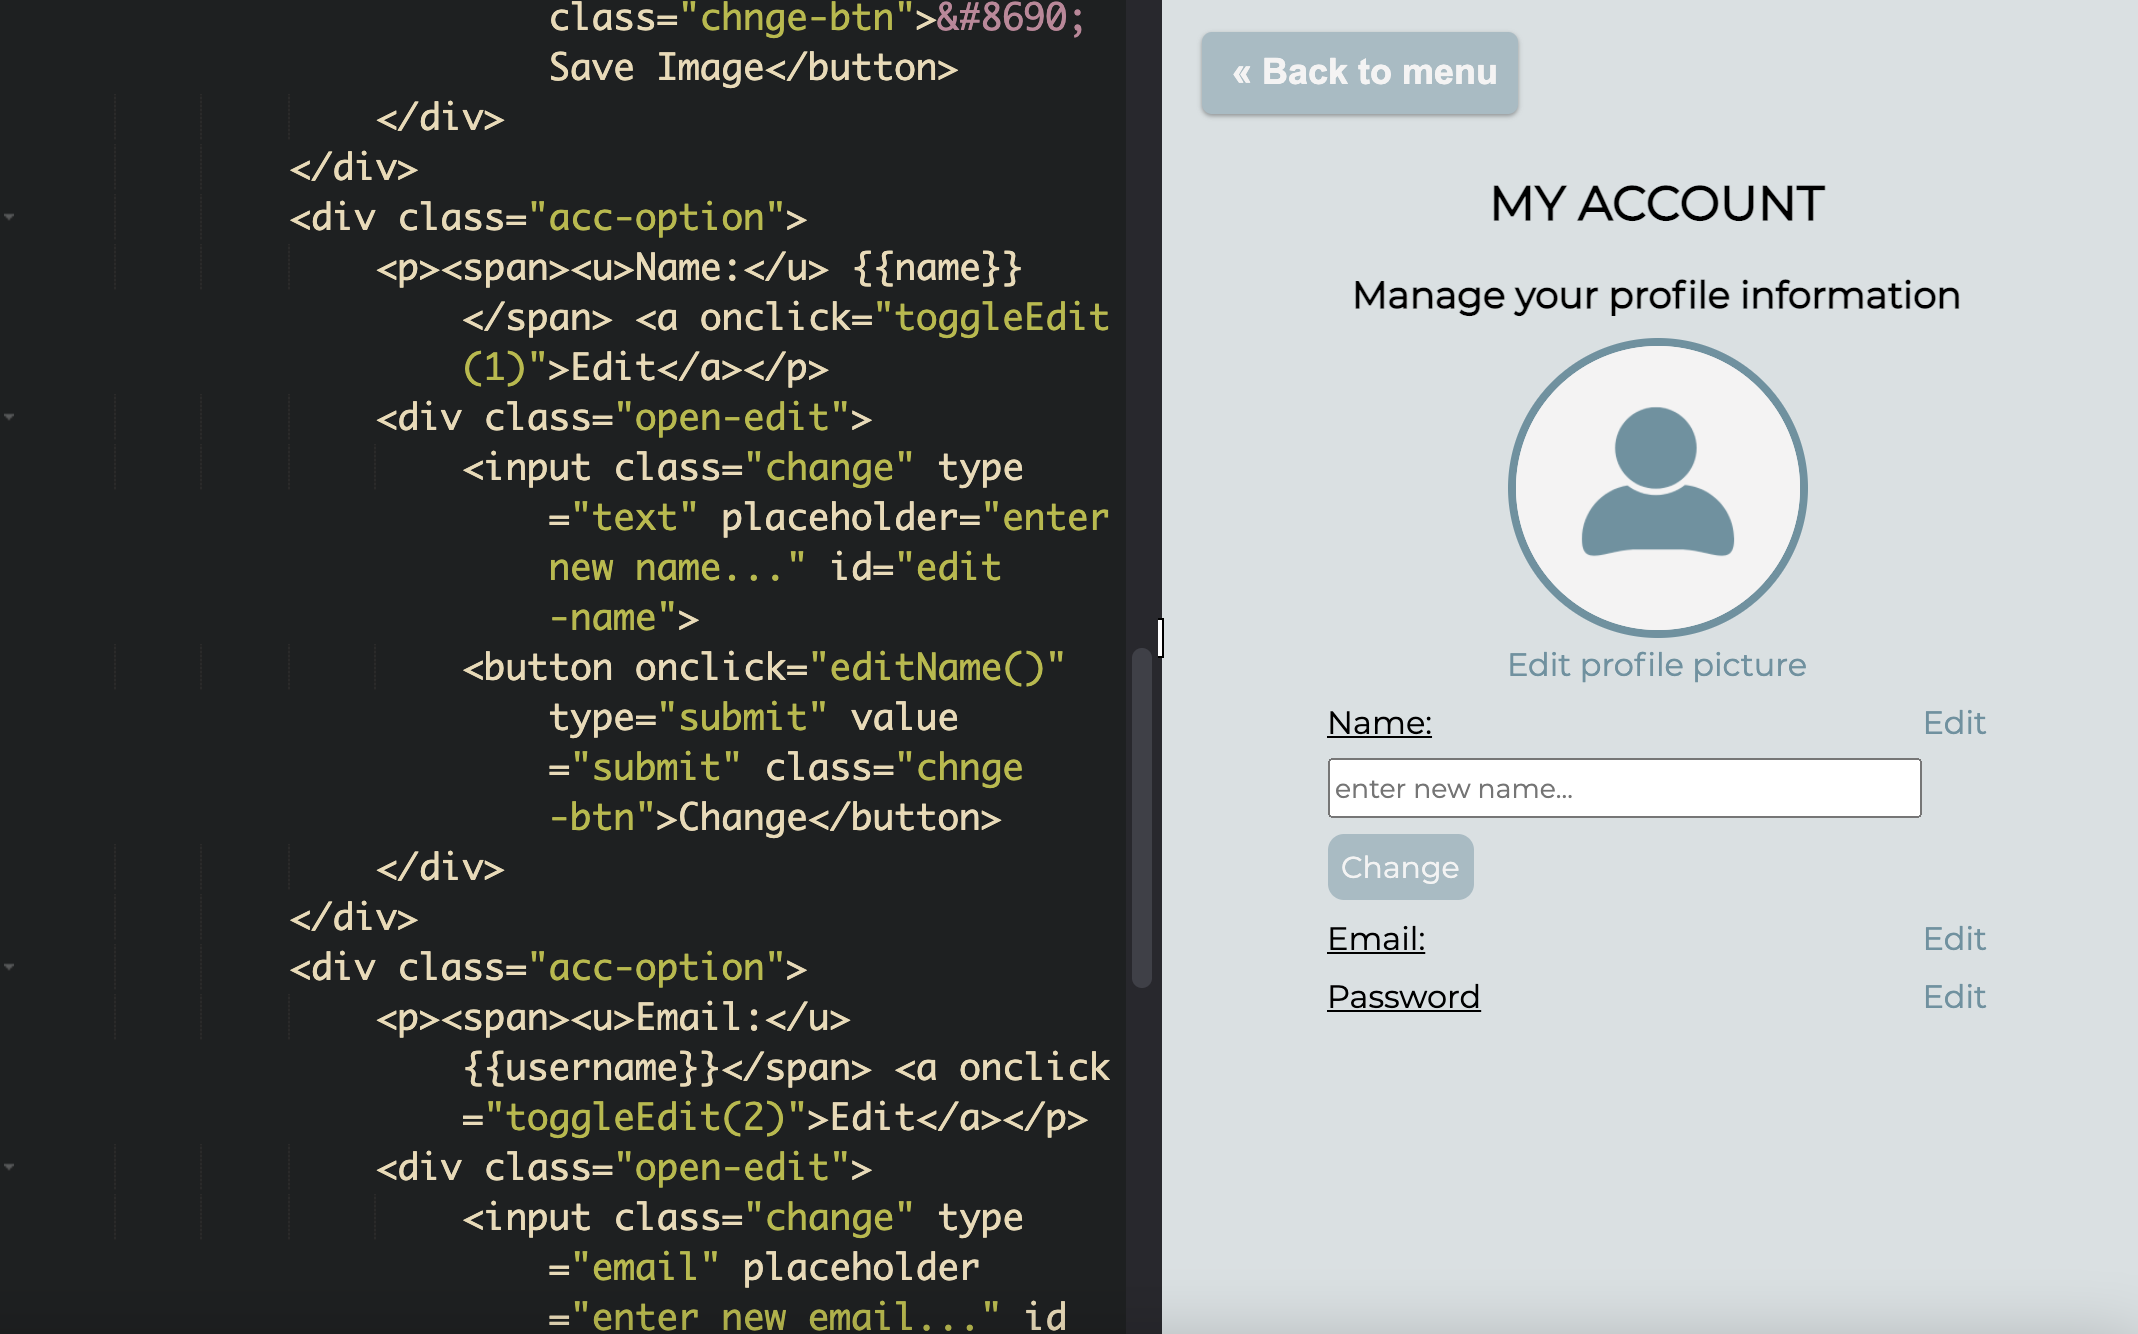
First, we formatted the information using HTML and curly brackets to get and the data (username, email, and password) from the database. We also created a default profile picture and an option to upload a new profile picture. We used local storage to make and save changes to the profile pictures, and in the future we hope to integrate this feature into Qoom's authentication database as well!

Using the Javascript Snippets
Qoom recently added Javascript and HTML code to the database features, making it easier than ever for Qoom users to navigate the database in their projects.

async function editEmail() {
	//getting input value
	const username = document.getElementById("edit-email")
		.value;
	const data = { username };
	if (!username) {
		alert("Please enter a new email to change.");
	} else {
		const resp = await fetch('/~/spring2021/cranial-check/account/profile', {
			method: 'PATCH',
			headers: { 'Content-Type': 'application/json' },
			body: JSON.stringify(data)
		})

		const ans = await resp.json();
		window.location.reload();
	}
}
}
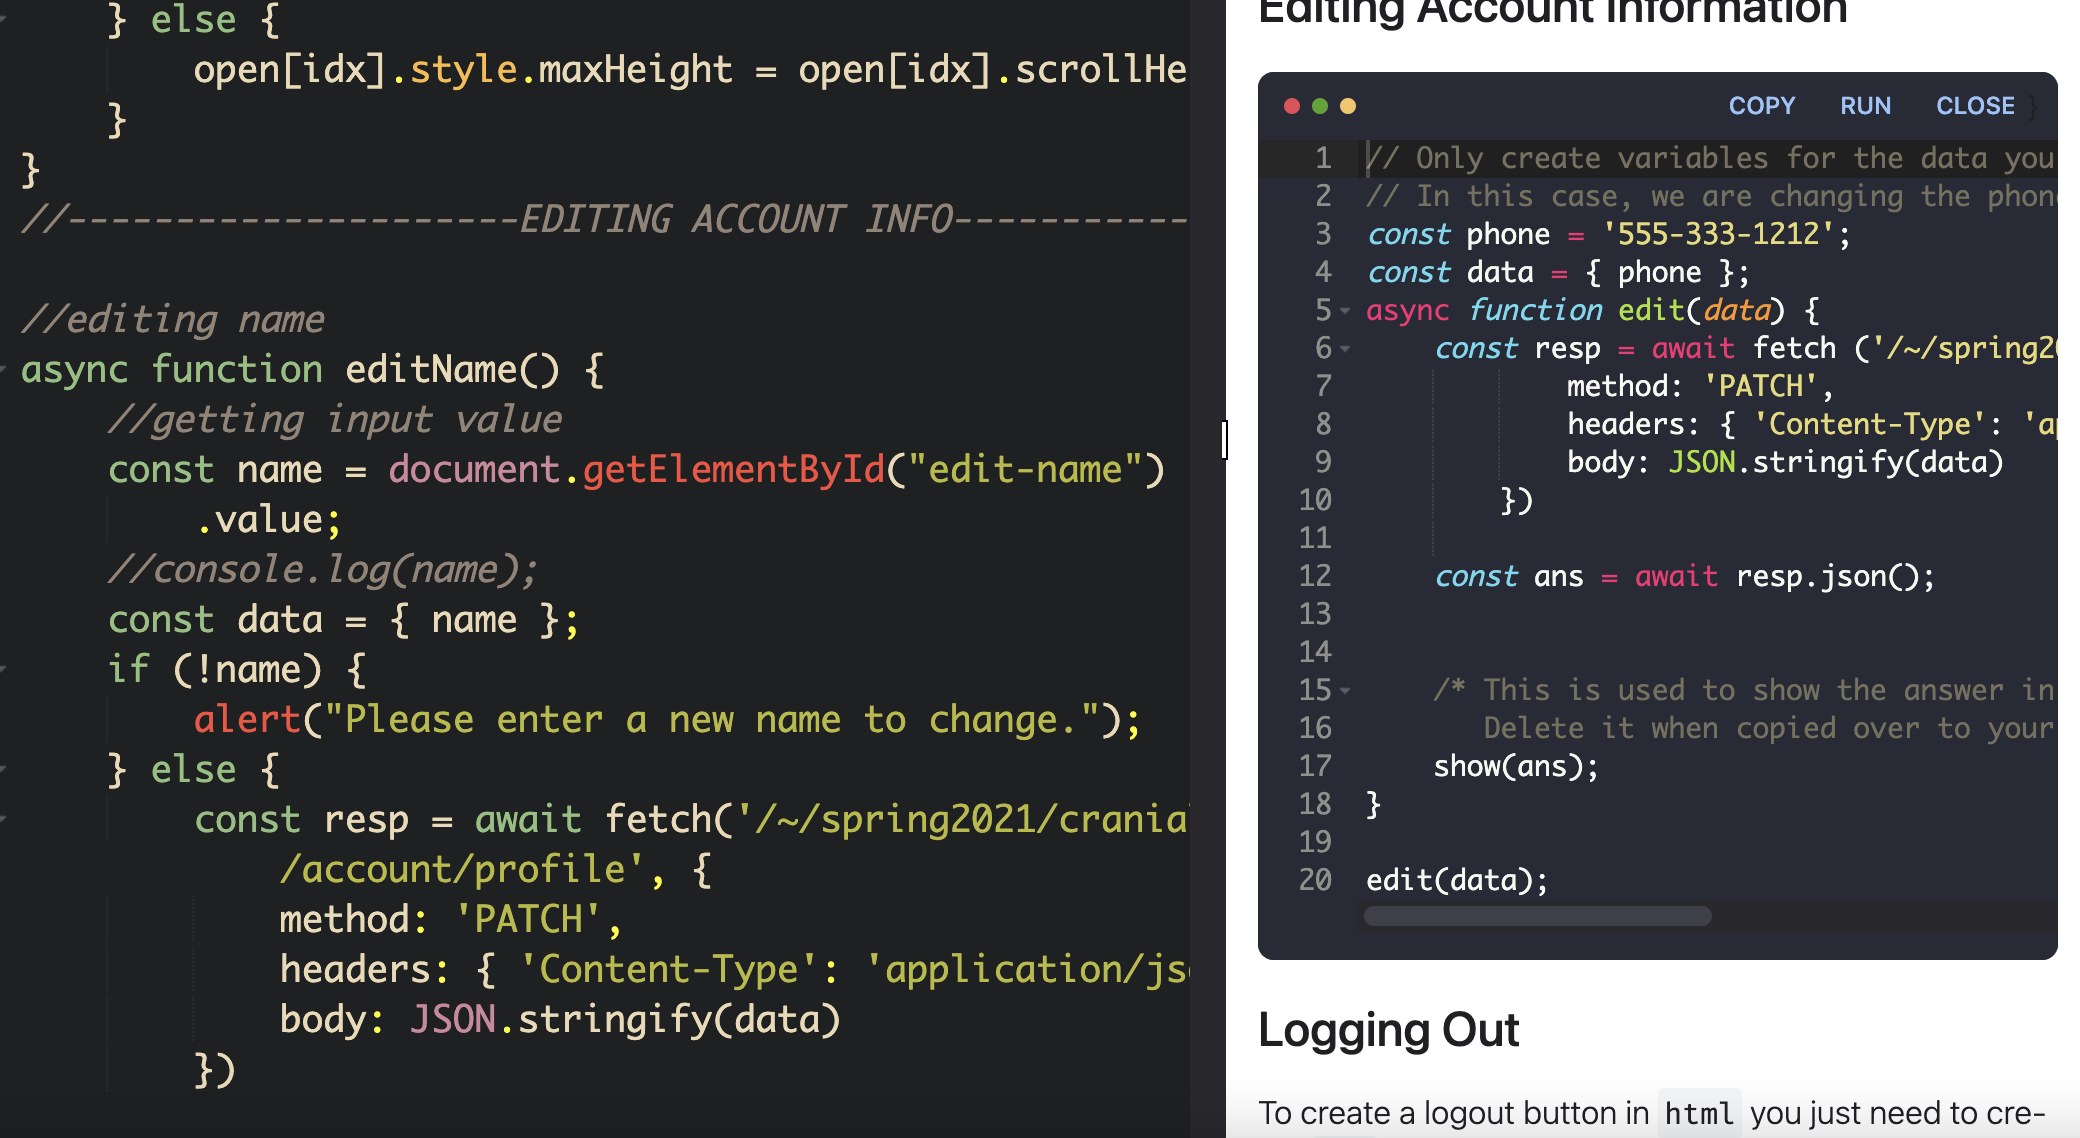
For example, this function was from Qoom's code snippets, it was altered from the template to change the value in the email input to whatever the user wants to edit it to, and save it to name="email" in the authentication database. While this function has some additions to it, like input verification, most of it was easily created to make editing email information easy for the user. The functions to change the name and password also look similar.
Using Local Storage
Getting a value from file inputs in order to edit the profile picture section was proving to be a bit difficult, so we decided to find an alternative and use local storage to save and change images. Though that means that profile pictures depend on computers rather than Cranial Check accounts, it was still a good learning experience.
function showImg(input) {
	if (input.files && input.files[0]) {
		var reader = new FileReader();

		reader.onload = function (e) {
			$('#pfp')
				.attr('src', e.target.result);
		};

		reader.readAsDataURL(input.files[0]);
	}
}
//saving image to local storage
function saveImg() {
	const picture = document.querySelector("#picture")
		.files[0]
	console.log(picture); //shows files list in console --> mmust convert into data url to use in local storage
	const reader = new FileReader(); //instance that will actually convert the file into a data url string
	//wait for load event to retrieve result (data url as a string)
	reader.addEventListener("load", () => {
		console.log(reader.result); //result belongs to File Reader instance
		//there's a limit on data url size from image so we use try and catch in case it's too big
		try {
			localStorage.setItem("recent-profile", reader.result); //key:value stored on local storage (go to dev tools --> applications --> local storage)
			window.location.reload();
		} catch (e) {
			alert("Image is too big, upload a new one");
		}
	});
	reader.readAsDataURL(picture);
}
We used the above code to create separate functions to take a file input and create a data url string that can be saved in an object in local storage (key = "recent-profile", value = data url). We then got this value and displayed it onto the profile element (if there was no item in local storage yet it showed a default icon). To change and save a new image, we created separate functions to change the src of the profile image into the uploaded image string and tested for size before saving it to the object in local storage.
Final Look
This is the second cohort we are working on our project, and we made many small feature improvements like this one that made our product more consistent and user-friendly. Thanks to Qoom's easy tutorials, we learned more about how databases work and easily further integrated the authentication system into our project.
